
Kampa Cross Air
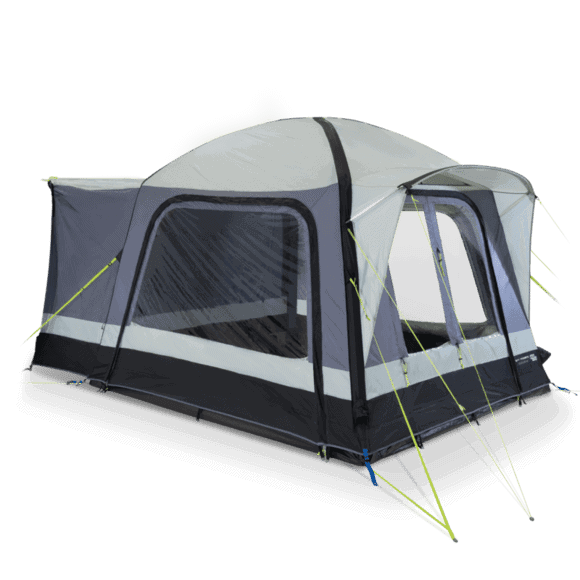
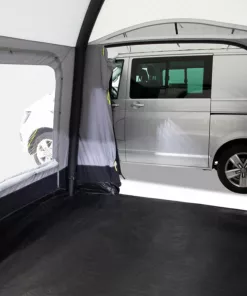
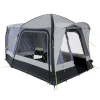
Kampa Cross Air Drive Away Awning is designed specifically for small vans and larger motorhomes. Utilising the convenience of the innovative Kampa Dometic AirFrame, the Kampa Cross AIR awning features a spacious living area and steep walls to provide ample usable space.
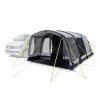
The cleverly designed front panel incorporates a ‘D’ door that can be half or fully rolled back. Plus cover from a large canopy for weather protected access. The Kampa Cross AIR Awning comes with a clip-in groundsheet, windows with blinds for privacy, and mesh panels throughout.
Kampa Cross Air Specification
- Pitching time: 8 minutes
- Pack size: 78 x 41 x 42cm
- Weight: 16.15kg
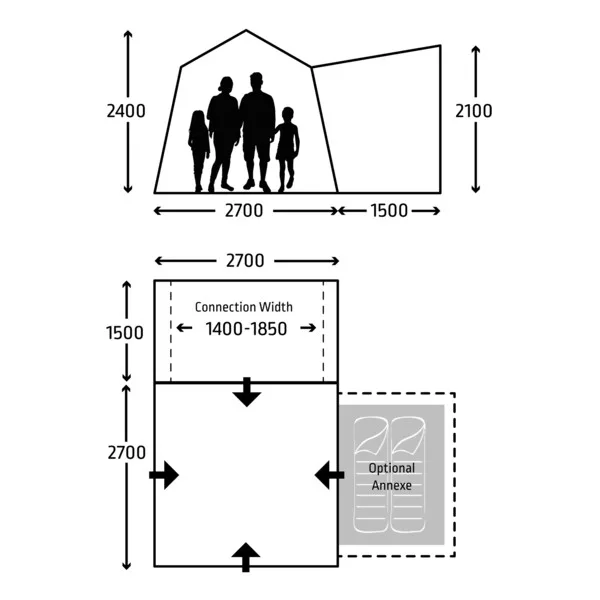
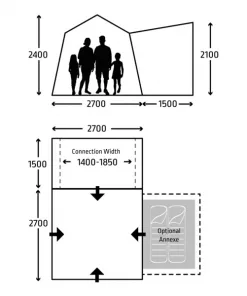
- Length: 300cm (390cm incl tunnel)
- Width: 300cm
- Height: 200cm
- Attachment height: 180 – 210cm
- Kador beading length: 250cm
Material
Weathershield 68D
- Super lightweight material offers the fastest setup and pack down times out of all the offerings from Kampa.
- Both highly weatherproof and water resistant, this fabric will keep you dry and comfortable.
- Exceptional value material and very popular.
Kampa Cross Air Features
- High visibility guide points.
- 68D Weathershield fabric
- Waterproof PE groundsheet toggles easily.
- Fly mesh on front entrance.
- Inflatable cross frame structure ensures great weather resistance.
- Poled front canopy provides a sheltered entrance.
- All panels can be completely removed.
- Sabrelink Flex compatible
- Massive 2.00m head height in the centre of the awning.
- Oversize bag for ease of pack down.
Installation
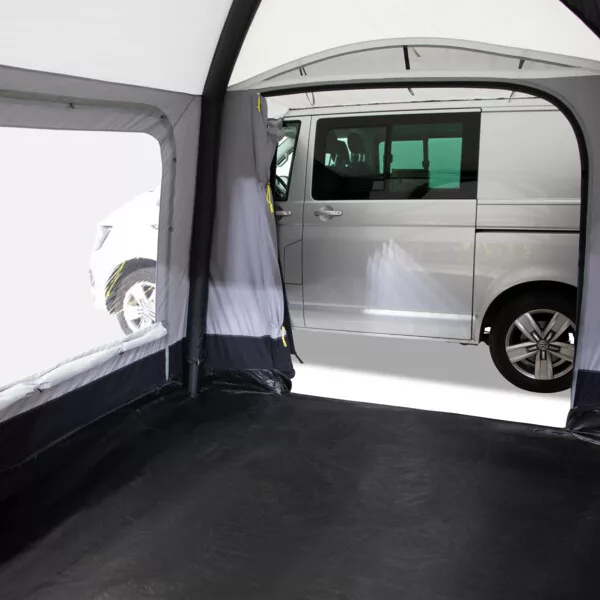
- The best way of connecting your new awning is by using a fitted rail on your van. You can also use a wind out canopy.
- Firstly unroll your new tent from its bag on a dry surface. You can use the supplied groundsheet.
- Secondly find the connection on the back of the awning.
- Next you need to attach the drive away kit to the Kador beading.
- Then simply slide your drive away kit on to your van.
- Peg down each corner of your tent.
- Find the 2 inflation points on the left hand side of your Kampa Cross Air Awning.
- Inflate the awning to the recommend pressure. This is found in your instruction book.
- Now peg down each guide rope following the angle of each corner.
- Attach your groundsheet in each corner following the colour coded toggles.
- Assemble the canopy pole and thread through the stitched pocket.
- Finish any pegging and ensure the awning is pulled tight.
- Enjoy! You have successfully installed your new Kampa awning. Hooray!
Reviews
There are no reviews yet.